Introduction
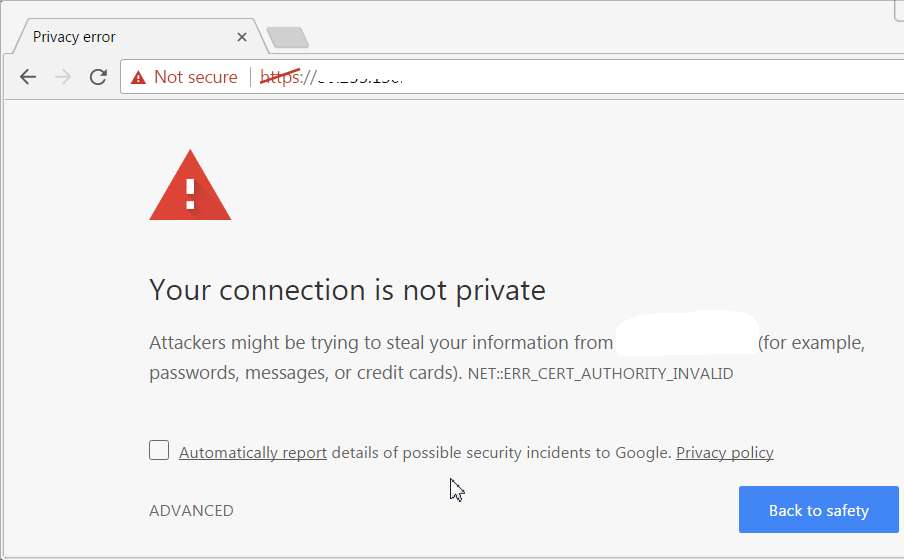
There are a lot of reasons to use TLS encryption on a website. Some of them are obvious (e.g. the protection of visitors’ safety), and some are related to the subtleties like SEO and user experience. Many analysts recommend switching to HTTPS because the search engine of Google considers HTTPS as one of the ranking signals. Besides that, new versions of browsers, (e.g. Chrome) frighten visitors of non-encrypted websites, marking them as “unsafe”.
Until recently, many webmasters, bloggers and SOHO business owners used to encrypt their resources with free StartSSL and WoSign certificates. Since StartSSL and WoSign certificates were going to be distrusted by Mozilla (https://blog.mozilla.org/security/2016/10/24/distrusting-new-wosign-and-startcom-certificates/) and Google, and there were no other free options to get SSL for a long term, we have chosen a LetsEncrypt (https://letsencrypt.org/getting-started/) option. Since the LetsEncrypt certificate is valid for 90 days only, automation is really needed. A recommended automation tool is EFF’s Certbot (https://certbot.eff.org/). This utility semi-automatically enables HTTPS on your website, deploying Let’s Encrypt certificates.
Hereinafter we share our own experience on initial installation and automation, briefly.
INSTALLATION PROCESS
Above mentioned resources give full description for different situations. Here we just demonstrate the logic of using the software for one particular case (only one domain/subdomain on VPS, which had previously another certificate; Nginx as a webserver, and CentOS7 as an OS; root SSH access; also presumed that we can stop webserver temporarily without negative consequences).
Step by step:
1. Install certbot:
yum install certbot
(several EPEL dependencies will be downloaded along; that’s Ok)
2. To obtain a certificate using a built-in “standalone” plugin, you may need to temporarily stop your existing webserver:
systemctl stop nginx
3. Start the process:
certbot certonly --standalone -d your.website.com
and make sure that things go smoothly:
IMPORTANT NOTES:
- Congratulations! Your certificate and chain have been saved at /etc/letsencrypt/live/your.website.com/fullchain.pem. Your cert will expire on 2017-04-28. To obtain a new or tweaked version of this certificate in the future, simply run certbot again. To non-interactively renew *all* of your certificates, run "certbot renew"
Certificates will actually be placed at
/etc/letsencrypt/archive/your.website.com/.
Symlinks to certificates will be placed at
/etc/letsencrypt/live/your.website.com/.
You may use Webroot plugin of the Certbot (it allows to get a certificate without stopping/starting Nginx) instead of Standalone plugin, but you will probably need to restart/reload Nginx later anyway in order to activate changes made in config file(s). It made no difference in our case.
4. Find the Nginx config file(s). In our case there are:
/etc/nginx/nginx.conf and the linked one /etc/nginx/conf.d/ext.conf
Make sure to remove or comment off the old Certificate parameters and add the new ones:
# disabled 2017-01-28
# ssl_certificate /etc/nginx/conf.d/yourold.crt;
# ssl_certificate_key /etc/nginx/conf.d/yourold.key.open;
# added 2017-01-28

ssl_certificate /etc/letsencrypt/live/your.website.com/fullchain.pem;
ssl_certificate_key /etc/letsencrypt/live/your.website.com/privkey.pem;
ssl_trusted_certificate /etc/letsencrypt/live/your.website.com/fullchain.pem;
Also it is useful to add directories used by Webroot plugin of the Certbot to the Webroot path (it allows to renew the certificate in the future without stopping/starting Nginx). So add:
location /.well-known {
alias /home/site/.well-known;
}
into both parts of the config file:
server {
listen 80;
and:
server {
listen 443 ssl;
(There may be a vague point here, but we found by experience that though Standalone plugin uses port 443, Webroot plugin uses port 80 for verification).
It may be useful to put a test file (a.txt, for instance), into specified directory /.well-known/acme-challenge (to test access later).
Also, if there was not SSL before, several usual options must be added, but we leave old ones.
5. Then don’t forget to start webserver:
systemctl start nginx
Make sure it works and test file is accessible from the Internet via both http and https.
6. Now let’s turn to the future renewals automation.
Find .conf file in /etc/letsencrypt/renewal/
Edit options used in the renewal process like this:
[renewalparams]
# authenticator = standalone
authenticator = webroot
webroot-path = /home/site
un-comment line:
renew_before_expiry = 5 days
7. Launch Certbot renew using test (dry-run) mode:
certbot renew --dry-run -w /home/site
Make sure all things are OK, especially verification:
Congratulations, all renewals succeeded. The following certs have been renewed: ...
9. It makes sense to archive the folder /etc/letsencrypt and configuration files (/etc/nginx/conf.d), and store them in a cool, dry place 🙂
8. Add command
certbot renew -w /home/site -q
into the Crontab for daily fulfillment. It will not reload a certificate every day if you set renew_before_expiry properly (see p.6).
9. Make sure your Nginx reloads configuration after certificate renewal. An obvious way for that may be adding a command like
nginx -t -q && nginx -s reload
into the Crontab for the specific date. A little bit smarter way would be to tie reloading with the exact moment of certificate renewal. In this case, we can modify the renewal command (p.8) with a hook like this:
certbot renew --no-self-upgrade -w /home/site -q --renew-hook "nginx -t -q && nginx -s reload"
or (with full paths):
certbot renew --no-self-upgrade -w /home/site -q --renew-hook "/usr/sbin/nginx -t -q && /usr/sbin/nginx -s reload"
10. If you have configured some of the other servers (e.g. Webmin) to use the same certificates, don’t forget to reload/restart their configuration as well, e.g.:
systemctl stop webmin

systemctl start webmin
After all that, you may create an appropriate rolling event in your calendar to check if certificate is up-to-date on the website after each 90 days.
This method was approved and works well on both our websites: www.ruspo.com and www.tree-talk.com.
POSSIBLE ISSUES / TROUBLESHOOTING
Our experience shows that the Letsencrypt and the Certbot itself run like clockwork. Some issues may appear from the Cron side and usually, they are caused by incorrect permissions, wrong script name, or the environment. If you have got problems of that sort, you may have a look at the logs, and study a couple of useful articles:
https://www.centos.org/docs/5/html/Deployment_Guide-en-US/ch-autotasks.html
and
6 Reasons Your Cron Job is Not Running (http://2clickfix.com/6-reasons-cron-job-not-running/ ).
Paths and files, related to Certbot:
/usr/bin/certbot

/root/certbot.log

/usr/share/doc/certbot-0.9.3

/usr/share/licenses/certbot-0.9.3